Saturday, March 31, 2012

Strawberry Lime Shortcakes

Pin It Strawberries have been amazing lately.  I wanted to make some sort of dessert that was on the healthy side and wouldn't heat up my house with the oven.  This was the perfect solution.  The tartness of the limes adds a little something extra for your tongue.  I did cheat a little and buy a store bought angel food cake, but sometimes you just need a little help.  Feel free to make your own if you want.


Strawberry Lime Shortcake
**I'm vague on measurements because you can make one or a dozen depending on your crowd
Strawberries, rinsed and sliced
Angel Food Cake, cut into slices
Whipped cream
Juice and zest of one lime *or more if making more than 3-4 desserts
1 tsp honey
toasted coconut (optional)

1. Combine lime juice and honey in a small bowl.  Stir until well mixed.
2. Place one slice of cake in a bowl.  Top with desired amount of berries. 
3. Pour a small amount of lime juice mixture over berries.
4. Top with whipped cream and sprinkle with toasted coconut and lime zest.

Friday, March 30, 2012

Copycat Parrot Bay Coconut Shrimp with Pina Colada Sauce

Pin It 
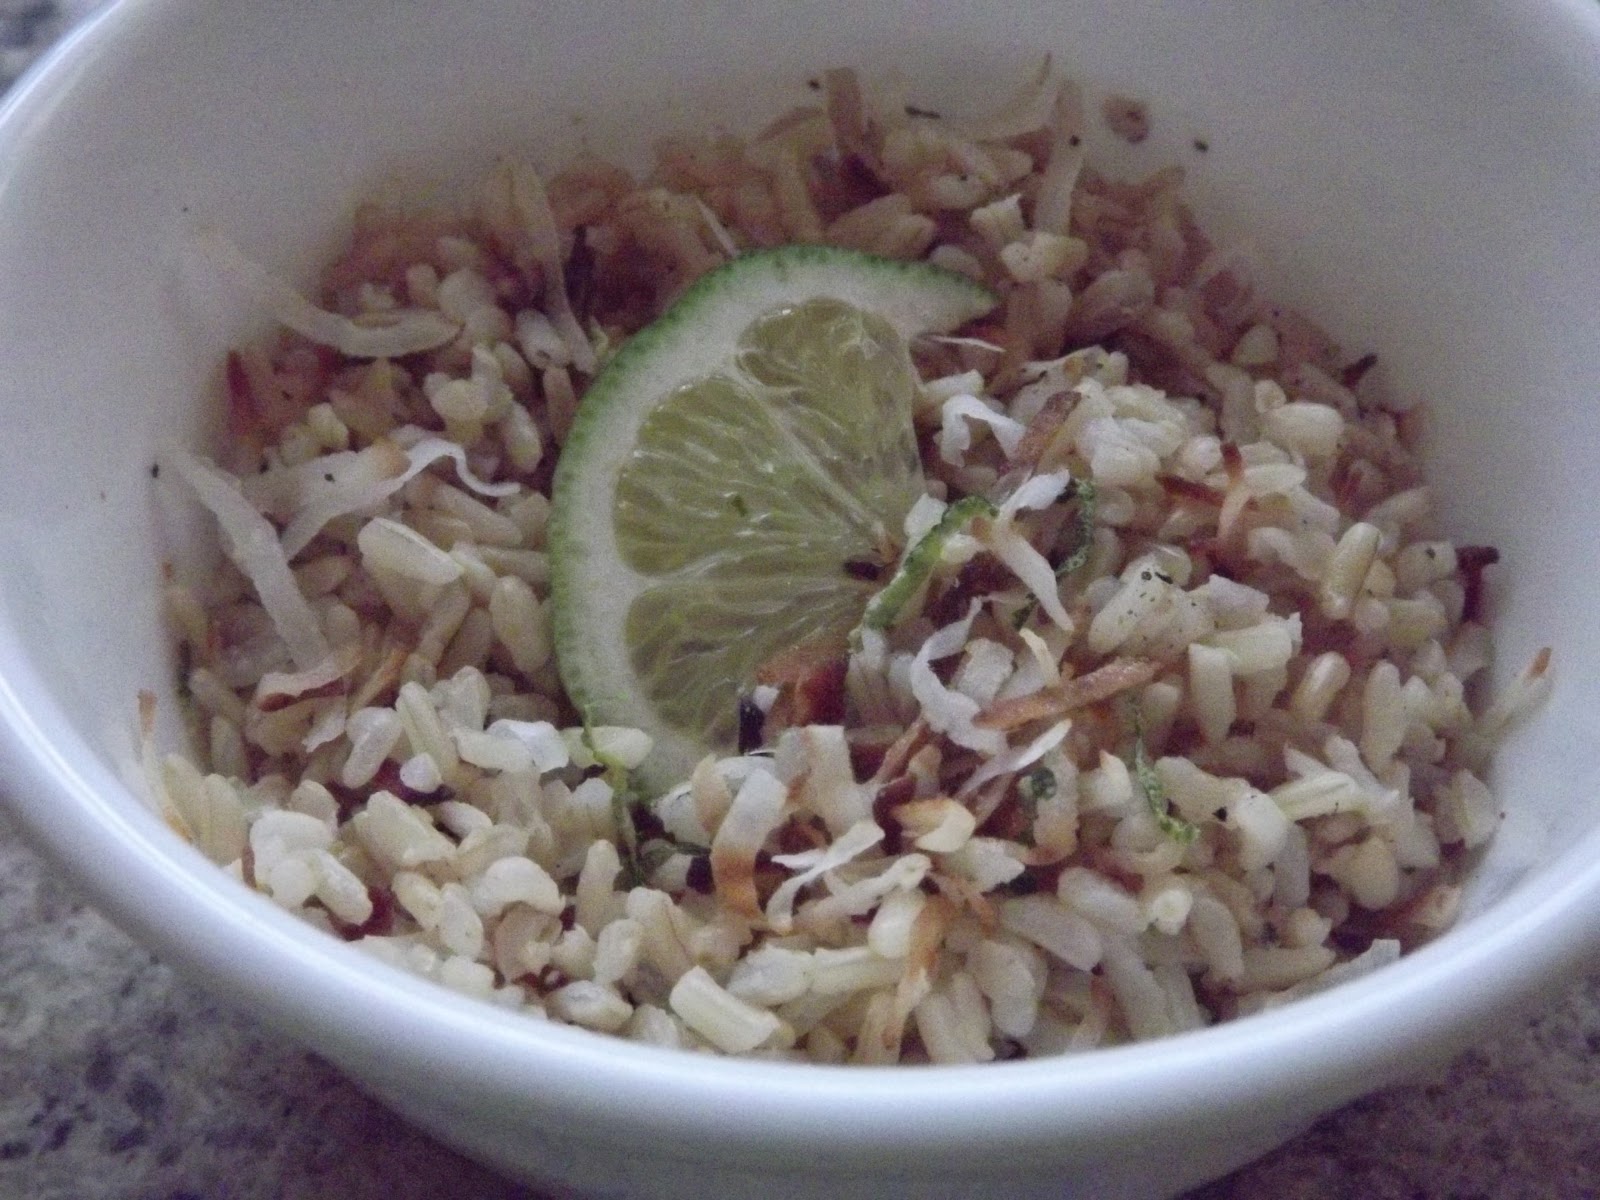
I love Red Lobster.  I always get the coconut shrimp.  When someone says Red Lobster I automatically think of their coconut shrimp.  I never branch out and try something new because I love their shrimp so much.  Well it gets expensive to eat out all the time, not to mention that it's not completely healthy for you either so I decided to make a copycat version.  It is pretty darn close and a lot healthier too because it isn't fried.  Try it with Toasted Coconut Lime Rice and Cheddar Bay Biscuits and it will be almost as good as going out to eat :)


Copycat Parrot Bay Coconut Shrimp with Pina Colada Sauce

Shrimp
1 lb cooked, peeled shrimp, with tails on (I used medium, but large would be better)
3 Tbsp corn starch
1/2 cup pina colada mix (non-alcoholic, from bottle)
3 tbsp powdered sugar
1/2 cup panko breadcrumbs
1/2 cup sweetened, shredded coconut
cooking spray

1. Preheat oven to 375 degrees
2. Place cornstarch in a shallow dish or plate.  Mix pina colada mix and powdered sugar in a small bowl and place next to cornstarch.
3. Mix coconut and breadcrumbs in a small bowl and place next to pina colada mixture.
4. Dredge shrimp in cornstarch, dip in pina colada mixture, then dip in coconut mixture, pressing coconut onto shrimp. 
5. Place shrimp on a foil lined, cooking spray coated baking sheet.
6. Spray tops of shrimp with cooking spray to aid in browning.
7. Bake 10-15 minutes or until golden brown.  Depending on your oven ou might have to rotate the shrimp if some seem to be browning much quicker than others. 
8. Serve with pina colada sauce.


Pina Colada Sauce
1 cup pina colada mix
1/4 cup pineapple tidbits, chopped into very small pieces, or crushed pineapple
3 Tbsp powdered sugar
2 Tbsp cornstarch
3 Tbsp water

1. In a small saucepan add pina colada mix, powdered sugar and pineapple.  Stir until there are no more lumps of powdered sugar.  Bring to a boil.
2. Mix cornstarch and water, slowly pour into sauce, stirring quickly.  Allow to boil for about 1 minute then remove from heat.
3. Allow to cool to room temperature before serving. 

**Note this sauce is best at room temp.  If it is too cold it is too thick to dip with.

Thursday, March 29, 2012

Toasted Coconut Lime Rice

Pin It This might be my new "go-to" side dish for light dinners.  I've never been a huge fan of cilantro lime rice so I decided to make a variation.  I'm happy to say that this turned out fabulous!  The toasted coconut gives a great texture and nutty flavor, while the lime gives just the right amount of tartness.  It pairs great with fish, shrimp, chicken, Mexican inspired, Thai food....you name it.  The minimal ingredients make this a super easy and healthy recipe. 


Toasted Coconut Lime Rice
2 cups cooked brown rice
1/2 cup sweentened shredded coconut
juice and zest of 1 lime
salt and pepper
garlic powder (optional)

1. Toast coconut.  Place coconut in a skillet over medium-high heat.  Stir frequently until golden brown.  Watch it carefully.  As soon as you start to see golden pieces you have about 30 seconds before it's done.  (It can go from beautifully golden to black in a matter of seconds!)  Remove from heat and set aside.
2. Cook rice according to package directions and place in a serving bowl.
3. Zest lime into the toasted coconut.  Squeeze lime juice on to the cooked rice.
4. Toss coconut mixture with rice, reserving a few tablespoons of coconut for serving.  Season with salt and pepper to taste.  Feel free to add a sprinkling of garlic powder as well.

Thursday, March 22, 2012

Potato "Chips"

Pin It Another potato side dish.  This is also another one of those super simple, almost too easy to write a post about, recipes.  However, this is one of Albert's favorite side dishes.  These potatoes go with chicken , pork, steak...pretty much everything.  They are also super easy to whip up because the ingredients are usually already in my kitchen.  The recipe can be adjusted to feed one or a crowd. Feel free to add some extra seasonings as well.  Since Albert has a simple palate, seasoned salt is all he likes. Enjoy!

Potato "Chips"
* 2 servings
1 large baking potato, sliced into thin rounds
1 tbsp onion, finely minced
olive oil
seasoned salt

1. Preheat a large skillet over medium-high heat.  Add about 2 tbsp olive oil tothe bottom of the pan.
2. Add onions to the pan and cook for about a minute.
3. Place the potatoes in a single layer (some overlapping is ok) and sprinkle generously with seasoned salt.
4. Let potatoes cook, without turning, for about 5 minutes.  Then flip and let cook, undisturbed for another 5 minutes.  The not flipping part is the key to crispy potatoes.
5. If your potatoes are not crispy enough for your liking, continue flipping and waiting until they are your desired crispiness.

Wednesday, March 21, 2012

Seafood Pasta Salad

Pin It It has been unseasonably warm the past few weeks.  Because of that I decided to bring a taste of summer in my lunch one day.  I just couldn't eat heavy comfort food when the weather was so nice.  This pasta salad is a great light lunch or side dish for a potluck.  Feel free to substitute or add your favorite veggies or seafood.  I think this would be great with shrimp or lobster.

Seafood Pasta Salad
1 12oz box whole wheat pasta, cooked, drained and cooled
1 8 oz package imitation crab meat
1/2 cup frozen peas, thawed
1/2 cup chopped celery
3 green onions, chopped
1/2 cup light mayonnaise
1/2 cup fat free sour cream
juice and zest of one lemon
1 tsp garlic powder
1 tbsp dill
salt and pepper

1. Cook, drain and cool pasta and place in a large bowl.  Add crab, peas, celery and onions.
2. Mix mayo, sour cream, lemon juice, zest, garlic, dill and salt and pepper.  Pour over pasta mixture.  Mix to cover.
3. Refrigerate until ready to serve.

Note - This can be made a day or two ahead.  It tastes great as leftovers.

Monday, March 19, 2012

Faux Ice Cream

Pin It I LOVE ice cream.  I could eat it multiple times a day if my waistline would allow me.  I stumbled upon this gem on Pinterest and then my sister-in-law made some and raved about it so I decided to give it a try.  The main ingredient of this creamy delight: BANANAS!  I have a strong dislike for bananas.  It is a texture issue.  I usually make some sort of muffin or cake out of my over ripe bananas.  However, this "ice cream" has only a mild banana flavor, especially if you mix in extras like peanut butter and cocoa.  You don't need a fancy ice cream maker either.  The only appliance you need is a food processor.  A blender would probably do the trick as well.  While this won't be completely replacing my trips to the local custard stand, this is a good substitute that I don't have to feel guilty about enjoying.


Faux Ice Cream
* 2 large servings
4 ripe (not over ripe) bananas, peeled and cut into 1/2 inch slices
2 heaping Tbsp peanut butter
2 tsp cocoa powder
mix-ins of your choice

1. Freeze banana slices until firm.  I used a ziplock bag and laid flat so the bananas were in a single layer and they froze in about an hour.
2. Place bananas in a food processor.  Mix until it blends into a creamy, smooth mixture.  This may take several minutes and you will have to stop to scrape down the sides as least once.  It will look like banana pebbles for a while, but be patient and it will turn creamy.
3. Mix in peanut butter and cocoa powder.
4. Stir in any extras you wish.
5. Place in the freezer for 10 minutes to firm up.  (Or if you are impatient, enjoy immediately)

Note - This does not freeze extremely well.  I recommend making a fresh batch each time you want some.  I thought it had a weird texture when I saved some until the next day.  But this might just be  my texture issue coming through. 

Friday, March 9, 2012

Wine Bar Sliders

Pin It Albert and I frequent the local wine bar.  In addition to their great wine selection, they have quite a tasty menu.  Last time we went we had sliders and they were fantastic.  They were so good in fact that I decided to recreate them for dinner later that week.  I have to say these turned out quite well.  Juicy burgers topped with melted gruyere, crispy bacon, red onions and roasted red peppers on a bakery fresh bun.  What more could you want?  I hope you enjoy them as much as we do.


Wine Bar Sliders
* makes 6
1 lb ground beef
2 Tbsp steak seasoning
1 Tbsp seasoned salt
3 strips of bacon, cooked
gruyere cheese (enough for 6 slider sized slices)
1/3 cup red onion, diced
1 large roasted red pepper, cut into short strips (I buy them in a jar)
1/4 cup mayonnaise
1 tsp basil pesto (or 1/2 tsp dried basil)
olive oil
6 rolls (we used bakery dinner rolls)

1. Mix ground beef and seasonings together.  Form into 6 sliders and grill.
2. Meanwhile, brown onions and red peppers with olive oil in a skillet.  It only takes about 3 minutes.
3. Mix mayo and basil together.
4. Top burgers with cheese for the last few minutes of cooking.  Cover and let the steam melt the cheese.
5. Spread basil mayo on buns, top with a burger.  Top burger with onions, peppers and bacon.  Enjoy!

**you can substitute your favorite cheese if you can't find gruyere.  We just like how it melts and the mild taste that doesn't overpower the other ingredients.

Thursday, March 8, 2012

Banana Pudding

Pin It I have a habit of buying bananas and not eating them.  It is a texture issue.  I usually end up letting them get over ripe and then making banana bread, muffins or cake.  I'm proud to say that this time I actually bought bananas and used them immediately for this delicious dessert.  I am not a huge fan of raw bananas or overly banana flavored things.  And when I said that I was bringing a banana dessert to Sunday dinner I did not get the most enthusiastic reply.  However, this is a winner!  Simple, (sort of) healthy, no baking required and feeds a crowd.  It is also super versatile.  You could substitute your favorite fruit for the bananas and I'm sure it would be delicious.  I ate some of the leftovers with some fresh strawberries and it was pretty tasty.

Banana Pudding
1 box vanilla wafers
3-4 bananas, sliced
1 box instant vanilla pudding
2 cups milk, I used skim
1 package cream cheese, softened (I used reduced fat)
1 can sweetened condensed milk
1 container whipped topping

1. Line the bottom of a 9 x 13 dish with vanilla wafers.  Top cookies with a layer of bananas.  Save some for the topping.
2. Combine milk and pudding mix.  Whisk until smooth.
3. In a separate bowl beat cream cheese and sweetened condensed milk until smooth.  Stir in pudding mixture and mix until combined.
4. Fold whipped topping into the pudding mixture.  Pout carefully over the bananas and cookies.
5. Top with cookies and remaining bananas.  Refrigerate until ready to serve.  The longer you refrigerate, the softer the cookies will get.